Monday, 3 December 2012

Meringue Christmas Trees


Next weekend I'm having a few families over for a little Christmas get together. I've been scouring the internet looking for some good Christmas treats to make that are: a) easy to make, b) not filled with expensive gourmet ingredients, and c) that make me think of Christmas. I'm a bit of a planner and want to tick off as many items on my to do list as early as possible, and yesterday I started my baking.


First on the baking list were these Christmas meringues... I used my own basic meringue recipe that has never failed me and added some food colouring and peppermint essence to the last 1/4 cup of sugar (that was being added to the egg whites a spoonful at a time). I was careful not to add too much colouring because I didn't want them too green as I thought that might put the adults people off eating them. You may also notice that mine don't have pretty little stars on top - yet! I couldn't find any at the store where I do my regular grocery shopping and am going out to get some later today. I wasn't sure how well these sorts of decorations would 'bake' anyway, so my plan all along was to add them afterward with a little dot of icing.


I was quite excited to use my new Tupperware icing piping thingy, but sadly that part was very disappointing... Long story short, it's messy to fill, wastes a LOT of whatever you put in there, and doesn't hold much. And it took me a few trees to get used to it, so there are a few wonky ones! Next time I'll go back to using my cheap piping bag that came from the grocery store.


But I'm sure they'll go down a treat at the party - they always do. I love these because they're really light and with a hint of peppermint essence in them they're a bit Christmassy too!


Wednesday, 28 November 2012

Summer Pants

My little guy has recently had a bit of a growth spurt and he is in desperate need of pants (trousers) that actually come past his ankles! I look at pants in the shops and they're all either boring, too expensive, or they just look plain uncomfortable for jumping & playing in... So I bought some fabric with the intention of making him some in the same way I made his pajama pants, but due to the print on the material I was worried they would look a bit too much like, well, pajamas. And then I found this tutorial and pattern for basic pants on Pinterest.

I'm impatient and don't have a printer at home, so I just traced the pattern onto some paper straight from the screen on my laptop. After I cut it out I held it up to a pair of his pants that actually still fit to make sure the pattern wasn't way off before cutting into the fabric! The fabric I chose was quite a thin summery cotton, so once the pieces were cut out, I decided to put some precautionary patches on the knees before sewing them up (as I've said before - getting the arm of the sewing machine into the leg of a toddler's pants is not one of my favorite things!)


He loves his new 'water' pants, and I think they look cool & comfortable for summer. And it was ridiculously easy - so easy in fact, that I've already started on a 2nd pair for him. :)

Now that I know how the 'basic' pants fit him, I've decided to make the next ones with a flat front
(ie the elastic is only in the back) so the top of the front pieces are cut out a bit slimmer.

Tuesday, 27 November 2012

Crayon Cars

For my little guy's 3rd birthday party he decided on a "Cars" theme. I thought crayon cars would be cute to put into the loot bags along with some colouring pages (mazes & activities for the older kids) and a few other little things.

I had melted crayons into shapes previously with mixed success... I had always shaved/cut up crayons into small pieces and melted them in the oven in silicone molds. The first time I tried I used the cheapest crayons I could get and when they melted the wax separated from the pigment and needless to say they were disappointing - so now I always use Crayola brand crayons.


I wanted the car crayons to be solid colours and to fill the whole mold rather than melting down into the crevices between the bits and making the cars too stumpy, so I followed this tutorial and they turned out fantastic! The mold I used took 4 crayons to fill each car (a whole pack of 24 to fill one tray), so it ended up being a bit more of an expensive experience than I expected (Crayola crayons in NZ cost about $5 for a pack of 24 - I miss the big packs of 96 that you can get in Canada for pretty much the same price!)


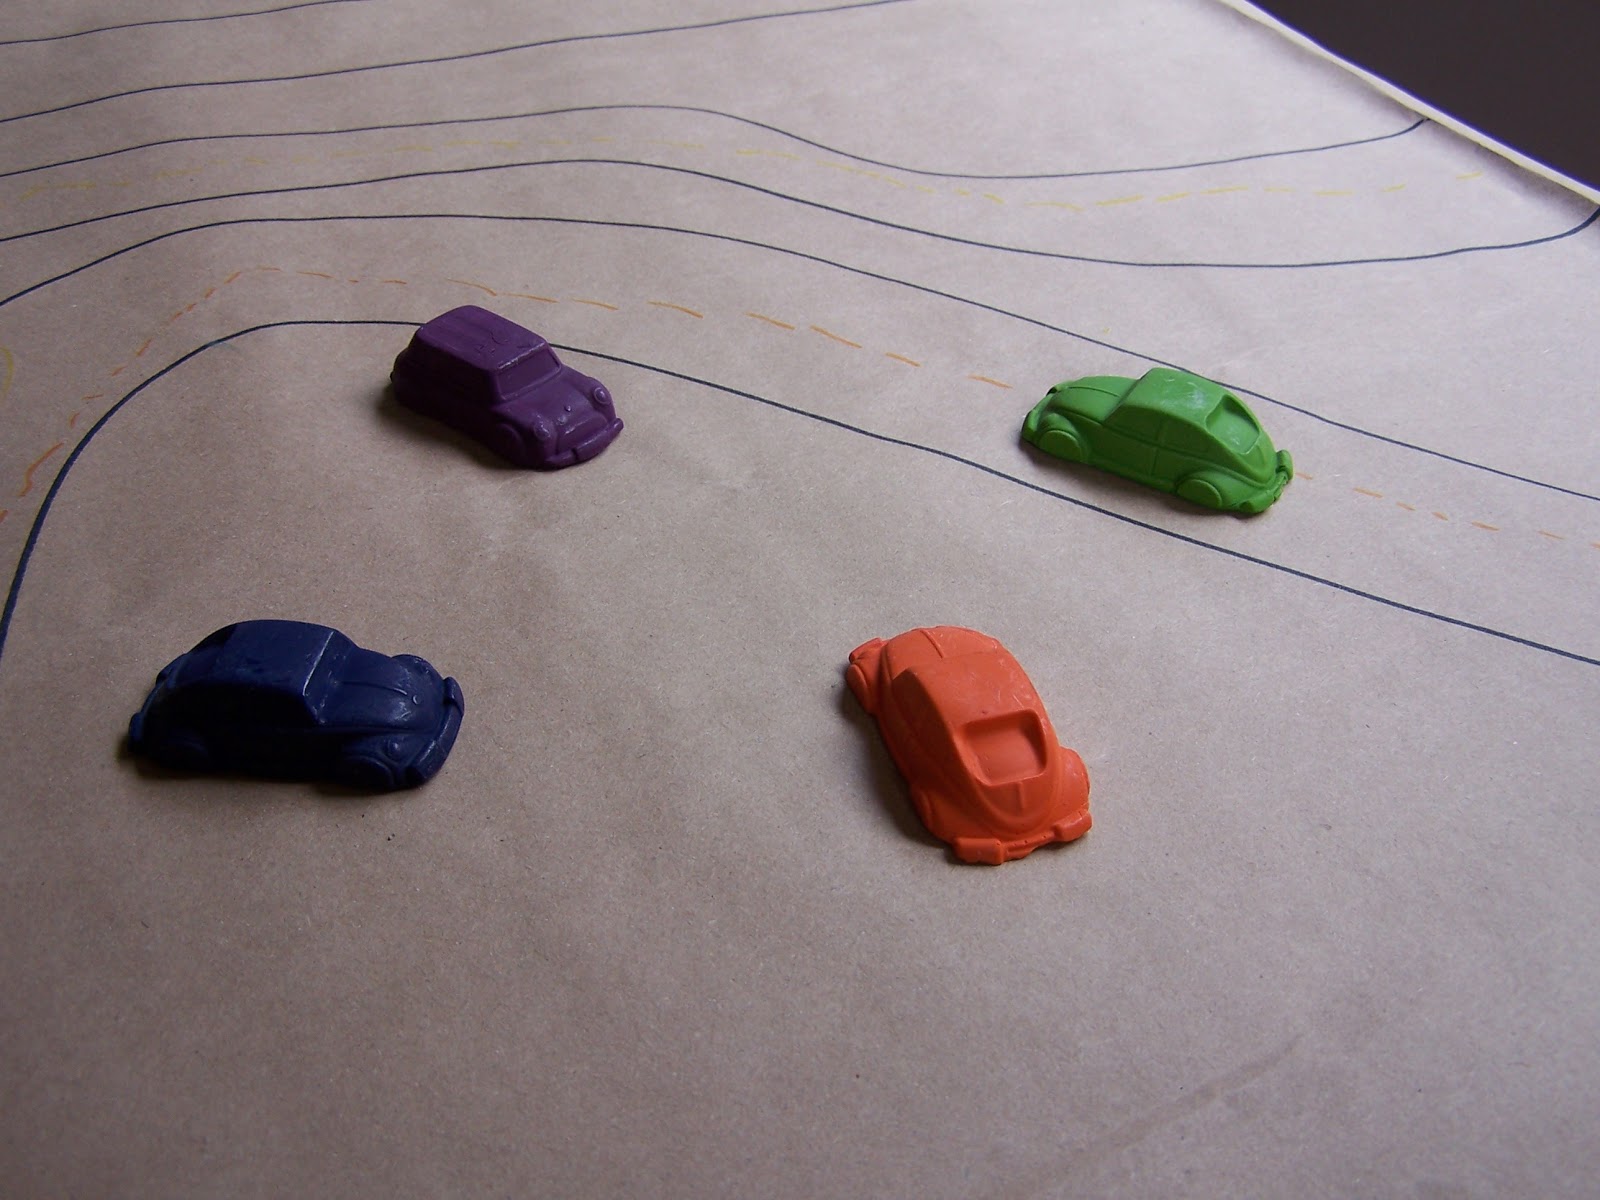
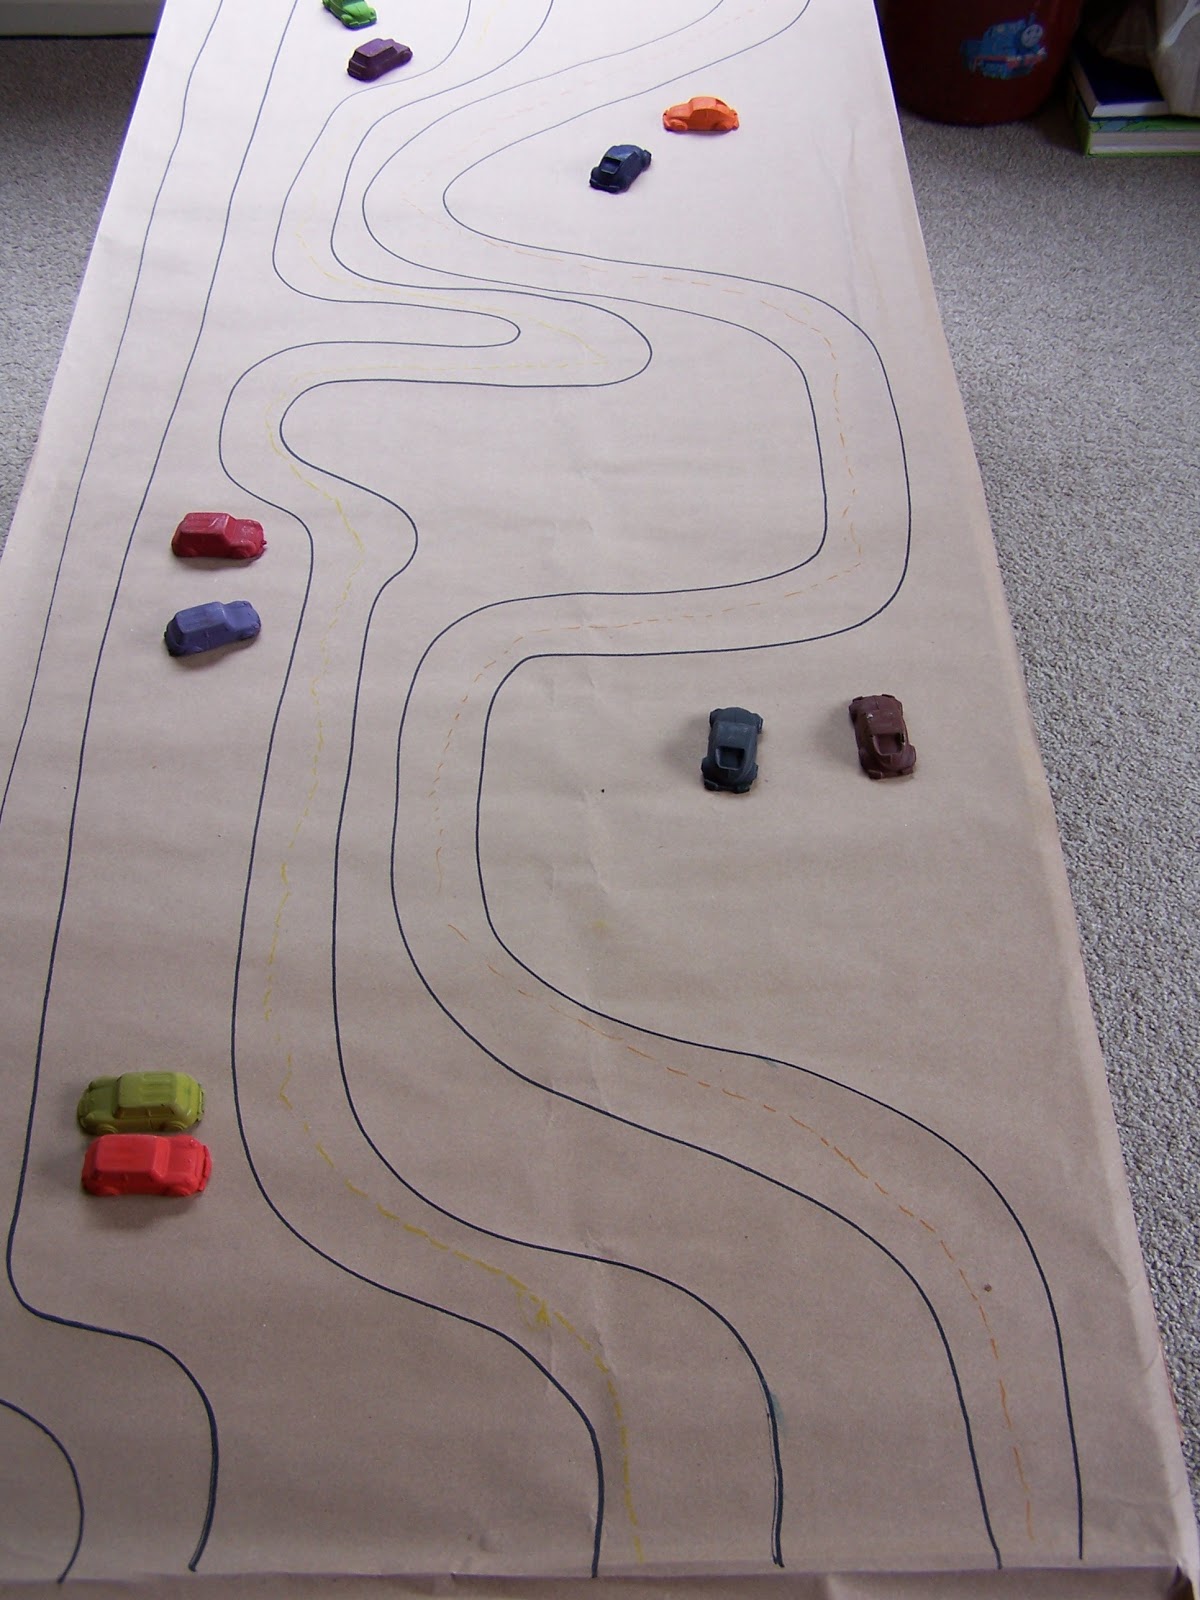
Once I had made the car crayons I thought they were just too cute and that we needed to do something with them during the party as well, so I came up with the idea of driving/drawing on paper roads with them. I covered the coffee table with paper and the little miss helped me to draw roads for the cars to drive along. The kids loved it. :)

Wednesday, 31 October 2012

Glow in the Dark Lanterns


My favourite internet find that I made for the little miss' glow in the dark birthday party were these great glow in the dark lanterns! I had seen other types of glow in the dark lanterns that use the goo from broken glow sticks, but what I liked about these ones was that they are made with glow in the dark pigment powder which is rechargeable and would last for more than just the night of the party.

I was thrilled to find that the lantern instructions are from a blog written by someone in New Zealand, as it meant that I would probably be able to find all of the 'ingredients' I needed without too much trouble. In fact, the hardest part was finding 6 glass jars to make the lanterns out of! I didn't want them to be too big, or too funny of a shape, and I wanted them to all be the same. However, I soon realized that finding enough empty jars all the same size & shape (without having to go out & buy any) was just not going to happen. As it turns out nobody (including the very particular little miss) cared that they weren't all the same size.

We had the jars displayed on a shelf for the party, but with all the glow lights in the room it wasn't actually dark enough to see the lanterns glow. I wrote a little note on each lantern with the child's name saying "Thank you for helping to brighten up my party." and the little miss handed them out as the children left. This (along with the many glow sticks & light wands they were playing with throughout the night) was given as a little thank-you gift instead of a loot bag.

I made my lanterns a bit differently from the instructions as per the link above, but I did copy the basic idea. The blogger noted that the pigment she bought the first time was not water soluble, so when she mixed it with the glue it turned into a solid glowing lump. The company I bought mine from actually sells a water soluble pigment as well as the non soluble one, and I liked the idea of just mixing it with regular while glue and painting it on the inside of the jars, so I did that. I also put some glitter in to the glue/pigment mix and painted it all on in one go! As the little miss would say, it was easy peasy lemon squeezy! Rather than paint the lids, I let the little miss choose some fabrics from my scraps drawer and I tied on a nice little ribbon with a handle.

It's been almost 4 months since the little miss' party and she still loves her lantern! She takes it to bed every night and it's still glowing just as brightly as it did the night of her party.

Note: I did try to take photos of the lanterns glowing, but no matter how many times & ways I tried I just couldn't do it. Apparently glow in the dark photography is NOT my thing - you'll just have to trust me that they look awesome in the dark! ;)


Being Sorted

Well, it's now the 1st of November and I haven't posted anything since September... I didn't even end up posting my 'Sort It' success. I am super pleased to tell you that I managed to tick off all but one item on my list! And no, the item I missed was not the item I was avoiding the most (giving the shower a good scrub), although I did avoid that one right up until the night before October when my husband said "Are you going to scrub the shower, or are you just going to fail on your list?"

The only item not completed was a Skype catch up with a dear friend in Canada. I tried, but life & the time difference just kept getting in the way - we did at least manage to write a few messages to each other instead.

I did feel very accomplished come October and I found it to be a good way to tick off all those niggly little bits & pieces around the house that became too easy to ignore. I'm almost looking forward to sorting myself out next September - but I think I'll leave the shower scrubbing off my list and delegate that job to someone else.

Monday, 24 September 2012

September Sort It - I'm Almost There!

It's officially the last week of September and I'm nearly sorted! I have 6 days to do the last 7 things on my list, and other than #19: Give the shower a good scrub, the remaining items aren't all that bad.

Here are a few photos documenting my progress...
#21 Baskets for the little miss' room.

#5 Tidy the hair accessories shelf - yowsers!
(before)
           
#13 Get a new passport
Just waiting to get my photos witnessed before I can tick it off the list!!!

#5 Tidy the hair accessories shelf
(after - phew!)

#3 Clean out the baking shelf (before)
#3 Clean out the baking shelf (after)
Clearly I now have to tidy the shelf below...
 And here is my list as it stands right now:

  1. Clean all unnecessary items off of the kitchen bench. (This may need to be done a few times throughout the month based on how quickly stuff accumulates there!)
  2. Go through the Little Miss' closet & remove everything that is too small or that no longer gets worn.
  3. Clean out the 'baking' shelf in the pantry.
  4. Look for a new set of dishes to replace our old set.
  5. Tidy & organize the hair accessories (& other random stuff) shelf.
  6. Make space under my bed to store the Little Miss' Christmas present (she's getting a new bed - shhh it's a surprise!)
  7. List the kids' art easel on Trade Me (they NEVER use it & it takes up way too much space).
  8. Sort through my clothes & get rid of all the things I no longer wear.
  9. Update photos of the kids on Picasa.
  10. See the Living Cloaks exhibition at Te Papa. 
  11. Sew baskets for the pantry.
  12. Re-stock the freezer with baking for lunches.
  13. Get a new passport! (Not that I'm planning on going anywhere, but with most of my family overseas I figure it's best to always have a valid one in case of emergency.)
  14. Mend everything in the pile of clothes to be mended.
  15. Investigate class times for Yoga-Pilates classes and book in.
  16. Sort through the cloth nappies & get rid of the ones that are no longer any good.
  17. Decide what to do for the Little Guy's 3rd birthday party. :)
  18. Sort through all the stuff being stored in the Little Guy's closet.
  19. Give the shower a really good scrub.
  20. Try to revive the sad, wilted potted flowers from the kitchen & re-plant out in the garden.
  21. Make more large storage baskets for the Little Miss' room.
  22. Make a list of who we're giving Christmas presents to this year.
  23. Plan out the Little Miss' Irish dancing dress (the real competition one - she's been practicing what to do at competition in class, so it won't be long now!)
  24. Choose new photos of the kids to replace the old ones in the lounge.
  25. Go shopping for clothes - for me, not the kids!!!
  26. Make a time to have a good catch up on Skype with my bestie in Canada.
  27. Weed the garden.
  28. Start weaning the Little Guy from using his soother during the day.
  29. Find more Thomas socks for the Little Guy.
  30. Actually take all of the excess clothes etc to the goodwill bins (or throw out those that are no longer good).
Wow! Check out all that pink!!!!!
It feels so satisfying to see how much I've done so far and to know that I will be able to complete my list by the end of the month. I hope that everyone else who's been sorting out their September feels as great as I do. 
:)

Saturday, 22 September 2012

Ice Cube Snack Trays


It's not rocket science to serve a variety of little snacks in an ice cube tray, but I did think this was a clever idea to make snack time a little more fun and interesting. My kids, especially the little guy, are pretty picky eaters so the first time I used this way of presenting their food I sneaked in something new - and it worked! The little miss ate everything and then asked for a refill of a few things and the little guy ate everything except his apples (but this is probably because there was no tomato sauce to dip them in - weird, I know).

I've seen this idea done multiple times throughout the internet, but this is the one I originally pinned. In fact I have pinned quite a few ideas from this blog (and the photos are beautiful!)

I don't make the kids snack like this everyday, but they always light up when I do (especially if I sneak a marshmallow or two in there). They're nice & portable, so today we took them outside to eat in the beautiful warm sunshine!