Thursday, 6 December 2012

Easiest Fudge Ever - Seriously! (but I still managed to fail)

Last night I made this fudge recipe, and it really is the easiest fudge in the world to make! The hardest part was trying to work out those pesky imperial measurements again. FYI: a 14 oz can is the regular size sweetened condensed milk you get at the grocery store in NZ and 12 oz of chocolate is 340 grams.

It's that last measurement that got me... I remembered from making my peppermint bark that the recipe called for 12 oz of white chocolate, and then I remembered measuring out 170 grams (which incidentally was half of the white chocolate in the recipe as I melted the top & bottom layers separately). So long story short - I used exactly half of the chocolate in this fudge recipe and, not surprisingly, it didn't really set. What is surprising is that it almost set, and it tastes amazing!


So instead of bars of chocolate fudge, we're now going to have fresh strawberries with chocolate fudge spread! You can't be perfect all the time, right?


Wednesday, 5 December 2012

Banana Gingerbread Muffins

Today's baking will be killing two birds with one stone: Christmas party baking & re-stocking the freezer.

Last night I put the last of the frozen baking in the little miss' lunchbox. I really like keeping a stock of home-made muffins or pikelets in the freezer for when I have to throw a school lunch together quickly or for the day before grocery shopping when we're getting low on everything else. So I was looking for something that I could put out for the Christmas party (in case there are guests who would like to nibble on something that's not chocolate or candy!) but that would also be eaten by my daughter in her lunches. The little miss generally likes banana muffins, and she loves ginger & cinnamon so I figured these banana gingerbread muffins ticked that box, but would also fit in with the Christmas theme due to the added spices. This recipe was totally not on my baking list - nor even pinned to my Pinterest boards before this morning, I was actually searching on gingerbread muffins and was weeding out the ones that required ingredients not currently in my cupboards, and when I saw this one it just ticked all the boxes.

Of course I didn't have any molasses in the cupboard (a major ingredient in gingerbread, I know) but the research I did after my peanut brittle baking indicated that I could use golden syrup in exchange for the molasses - although substituting brown sugar was recommended to give it a stronger taste. So I used slightly less golden syrup than the amount of molasses stated and slightly more brown sugar. I also added a little extra of the spices as that was also suggested in something I read about the substitutions. I made them in mini muffin trays because the size works better as party nibbles than a loaf or big muffins, and they work better in my kids lunches. The recipe states to leave them in the oven for 20-25 minutes for muffins, so I checked mine after 16 minutes and they were perfect!

My mini muffins actually turned out really well. They don't taste Christmassy at all, as the banana is the main flavour, but the are moist & delicious none the less. Depending on how things go, I may top them with a little bit of crystallized ginger & a sprinkle of cinnamon to tart them up a bit for the party (the lunchbox ones will stay as is).

Tuesday, 4 December 2012

Peppermint Bark


Chocolate bark is another one of those baking items that shouts Christmas to me, so when I saw this one topped with candy canes I knew I'd be making it this year. It's like Christmas topped with more Christmas!

The recipe that I originally pinned (and linked to above) was actually taken from here. Both recipes are the same and both are in imperial measurements - hrumpf! 

To save you the hassle of converting imperial to metric, a 6 oz packet of chocolate chips/buttons measures approx 1 cup (or 170g for those who actually have kitchen scales). I like this kind of recipe because exact measurements aren't required for any sort of chemical reaction, and I'm more into cooking with approximates as opposed to measuring things properly! So if you want to give it a go you'll need 2 cups of white chocolate melts, 1 cup of milk chocolate melts, a bit of vegetable oil (I used rice bran oil cause that's what's in my cupboard), and some crushed up candy canes. :)

Both recipes stated that you need 1/3 crushed candy cane pieces, which confused me a little as to how much that actually meant - but I figured it would take about 1/3 of a cup to cover the top, so that's what I went with (3 to 4 regular sized canes = about 1/3 cup).

Making bark is generally as easy as melting chocolate, and this one was no different - the hardest part was crushing the candy canes into little pieces without them all turning into powder. So easy, so pretty, and so yummy!

*Note: I actually I ended up doubling the recipe at the last minute because I was worried that it wouldn't make quite enough for the party as well as extra left-overs for me!!!
I also thought that if there was a lot extra it would make a nice addition to the kid's teachers end of year/Christmas presents. So if you want to make as much as is in my photos, you'll need double what's written above.
A double batch of this recipe made this much...
The pieces not in the container became un-layered while I was cutting them -
I'm sure they won't go to waste though!

Monday, 3 December 2012

Peanut Brittle - So simple & made in the microwave!

Peanut brittle is one of my most favourite Christmas baking treats! However, I've never been particularly successful at making it myself.

I found this recipe on Pinterest and it looked easy enough that I thought even I could manage it. It's made in a microwave after all! ;)

In theory it worked well... Corn syrup isn't a regular grocery item in NZ like it is in America, so I figured I'd just substitute it with golden syrup and it would be fine - good theory, yes? Well, in fact, yes! However, what I didn't find out until after is that golden syrup burns much quicker than corn syrup. It still turned out fine, but with a slight hint of burnt flavour. It's still edible and it still makes me happy, but next time instead of microwaving it on high for 5 minutes like the recipe states, I'll try it after 3 minutes or so.

I've still got a few more recipes to go, so until the next one...
Happy Christmas baking everyone!

ps - I've had a bit of a thought... for posts such as this, would you like me to add the actual recipe to the end, or would you prefer to link through to the original source instead?

Meringue Christmas Trees


Next weekend I'm having a few families over for a little Christmas get together. I've been scouring the internet looking for some good Christmas treats to make that are: a) easy to make, b) not filled with expensive gourmet ingredients, and c) that make me think of Christmas. I'm a bit of a planner and want to tick off as many items on my to do list as early as possible, and yesterday I started my baking.


First on the baking list were these Christmas meringues... I used my own basic meringue recipe that has never failed me and added some food colouring and peppermint essence to the last 1/4 cup of sugar (that was being added to the egg whites a spoonful at a time). I was careful not to add too much colouring because I didn't want them too green as I thought that might put the adults people off eating them. You may also notice that mine don't have pretty little stars on top - yet! I couldn't find any at the store where I do my regular grocery shopping and am going out to get some later today. I wasn't sure how well these sorts of decorations would 'bake' anyway, so my plan all along was to add them afterward with a little dot of icing.


I was quite excited to use my new Tupperware icing piping thingy, but sadly that part was very disappointing... Long story short, it's messy to fill, wastes a LOT of whatever you put in there, and doesn't hold much. And it took me a few trees to get used to it, so there are a few wonky ones! Next time I'll go back to using my cheap piping bag that came from the grocery store.


But I'm sure they'll go down a treat at the party - they always do. I love these because they're really light and with a hint of peppermint essence in them they're a bit Christmassy too!


Wednesday, 28 November 2012

Summer Pants

My little guy has recently had a bit of a growth spurt and he is in desperate need of pants (trousers) that actually come past his ankles! I look at pants in the shops and they're all either boring, too expensive, or they just look plain uncomfortable for jumping & playing in... So I bought some fabric with the intention of making him some in the same way I made his pajama pants, but due to the print on the material I was worried they would look a bit too much like, well, pajamas. And then I found this tutorial and pattern for basic pants on Pinterest.

I'm impatient and don't have a printer at home, so I just traced the pattern onto some paper straight from the screen on my laptop. After I cut it out I held it up to a pair of his pants that actually still fit to make sure the pattern wasn't way off before cutting into the fabric! The fabric I chose was quite a thin summery cotton, so once the pieces were cut out, I decided to put some precautionary patches on the knees before sewing them up (as I've said before - getting the arm of the sewing machine into the leg of a toddler's pants is not one of my favorite things!)


He loves his new 'water' pants, and I think they look cool & comfortable for summer. And it was ridiculously easy - so easy in fact, that I've already started on a 2nd pair for him. :)

Now that I know how the 'basic' pants fit him, I've decided to make the next ones with a flat front
(ie the elastic is only in the back) so the top of the front pieces are cut out a bit slimmer.

Tuesday, 27 November 2012

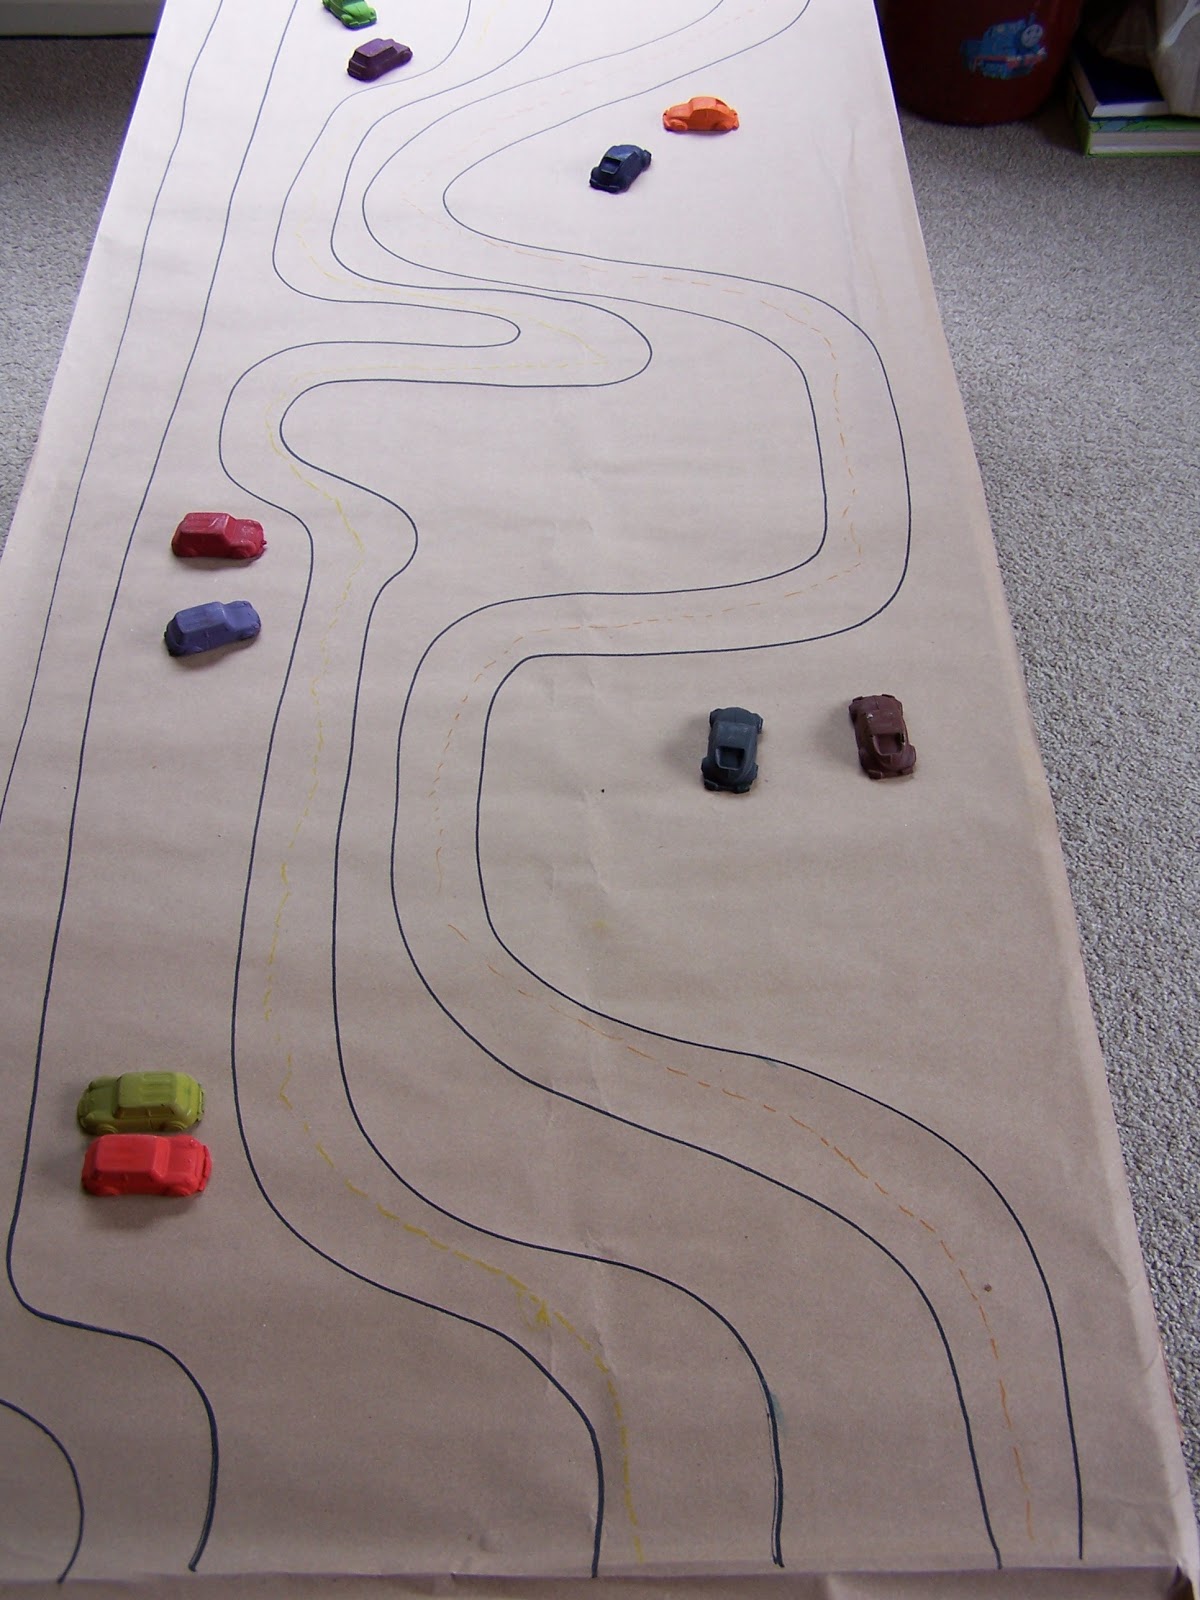
Crayon Cars

For my little guy's 3rd birthday party he decided on a "Cars" theme. I thought crayon cars would be cute to put into the loot bags along with some colouring pages (mazes & activities for the older kids) and a few other little things.

I had melted crayons into shapes previously with mixed success... I had always shaved/cut up crayons into small pieces and melted them in the oven in silicone molds. The first time I tried I used the cheapest crayons I could get and when they melted the wax separated from the pigment and needless to say they were disappointing - so now I always use Crayola brand crayons.


I wanted the car crayons to be solid colours and to fill the whole mold rather than melting down into the crevices between the bits and making the cars too stumpy, so I followed this tutorial and they turned out fantastic! The mold I used took 4 crayons to fill each car (a whole pack of 24 to fill one tray), so it ended up being a bit more of an expensive experience than I expected (Crayola crayons in NZ cost about $5 for a pack of 24 - I miss the big packs of 96 that you can get in Canada for pretty much the same price!)


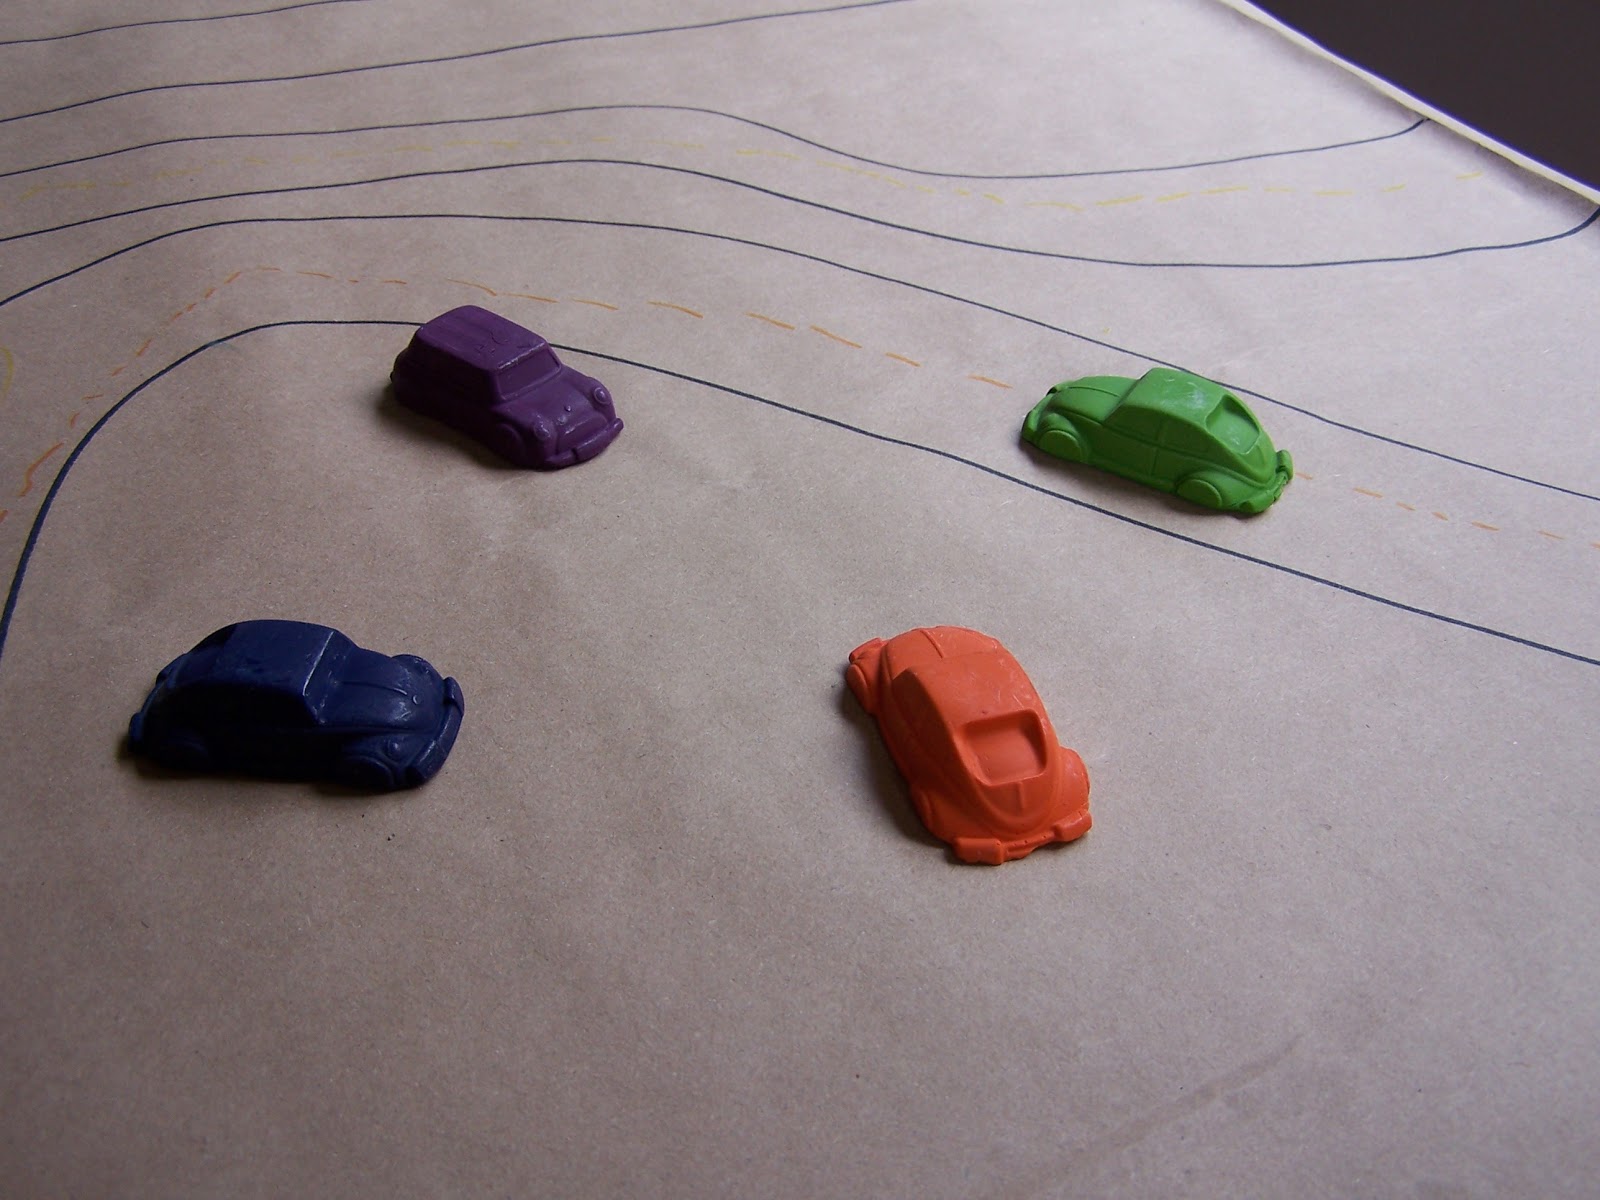
Once I had made the car crayons I thought they were just too cute and that we needed to do something with them during the party as well, so I came up with the idea of driving/drawing on paper roads with them. I covered the coffee table with paper and the little miss helped me to draw roads for the cars to drive along. The kids loved it. :)