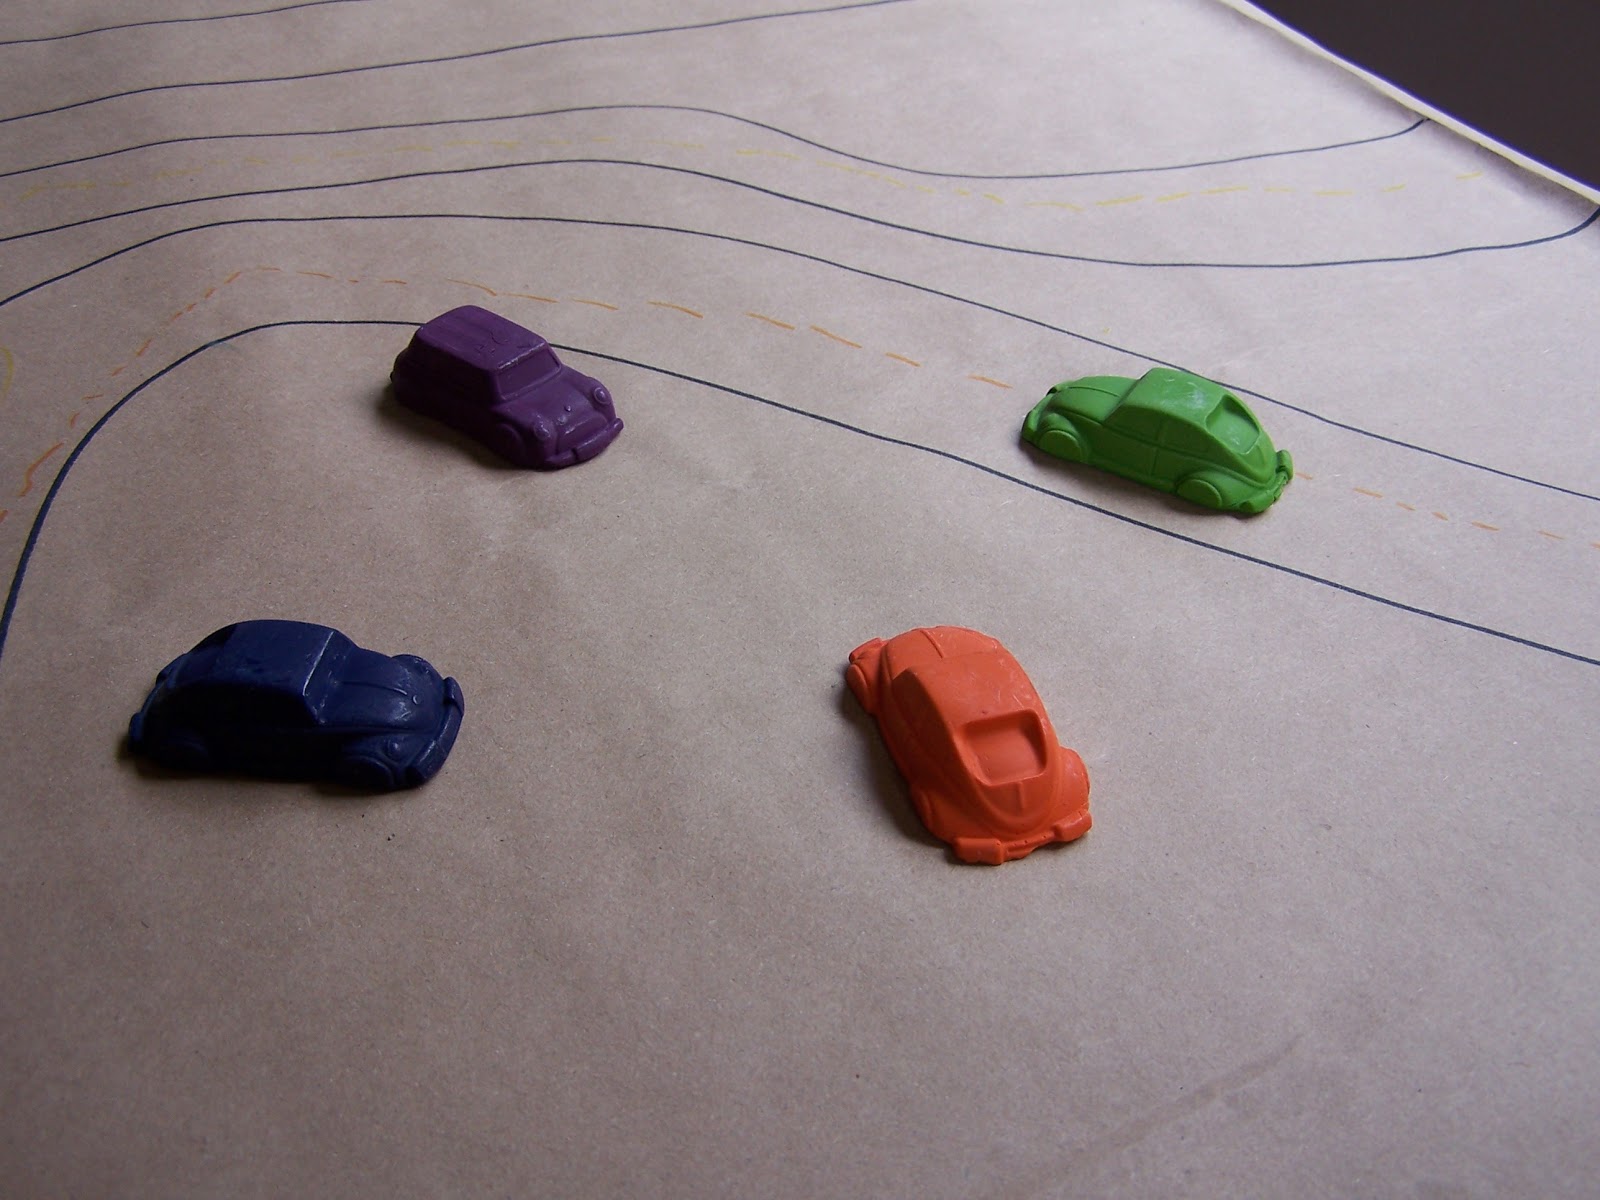
I had melted crayons into shapes previously with mixed success... I had always shaved/cut up crayons into small pieces and melted them in the oven in silicone molds. The first time I tried I used the cheapest crayons I could get and when they melted the wax separated from the pigment and needless to say they were disappointing - so now I always use Crayola brand crayons.
I wanted the car crayons to be solid colours and to fill the whole mold rather than melting down into the crevices between the bits and making the cars too stumpy, so I followed this tutorial and they turned out fantastic! The mold I used took 4 crayons to fill each car (a whole pack of 24 to fill one tray), so it ended up being a bit more of an expensive experience than I expected (Crayola crayons in NZ cost about $5 for a pack of 24 - I miss the big packs of 96 that you can get in Canada for pretty much the same price!)
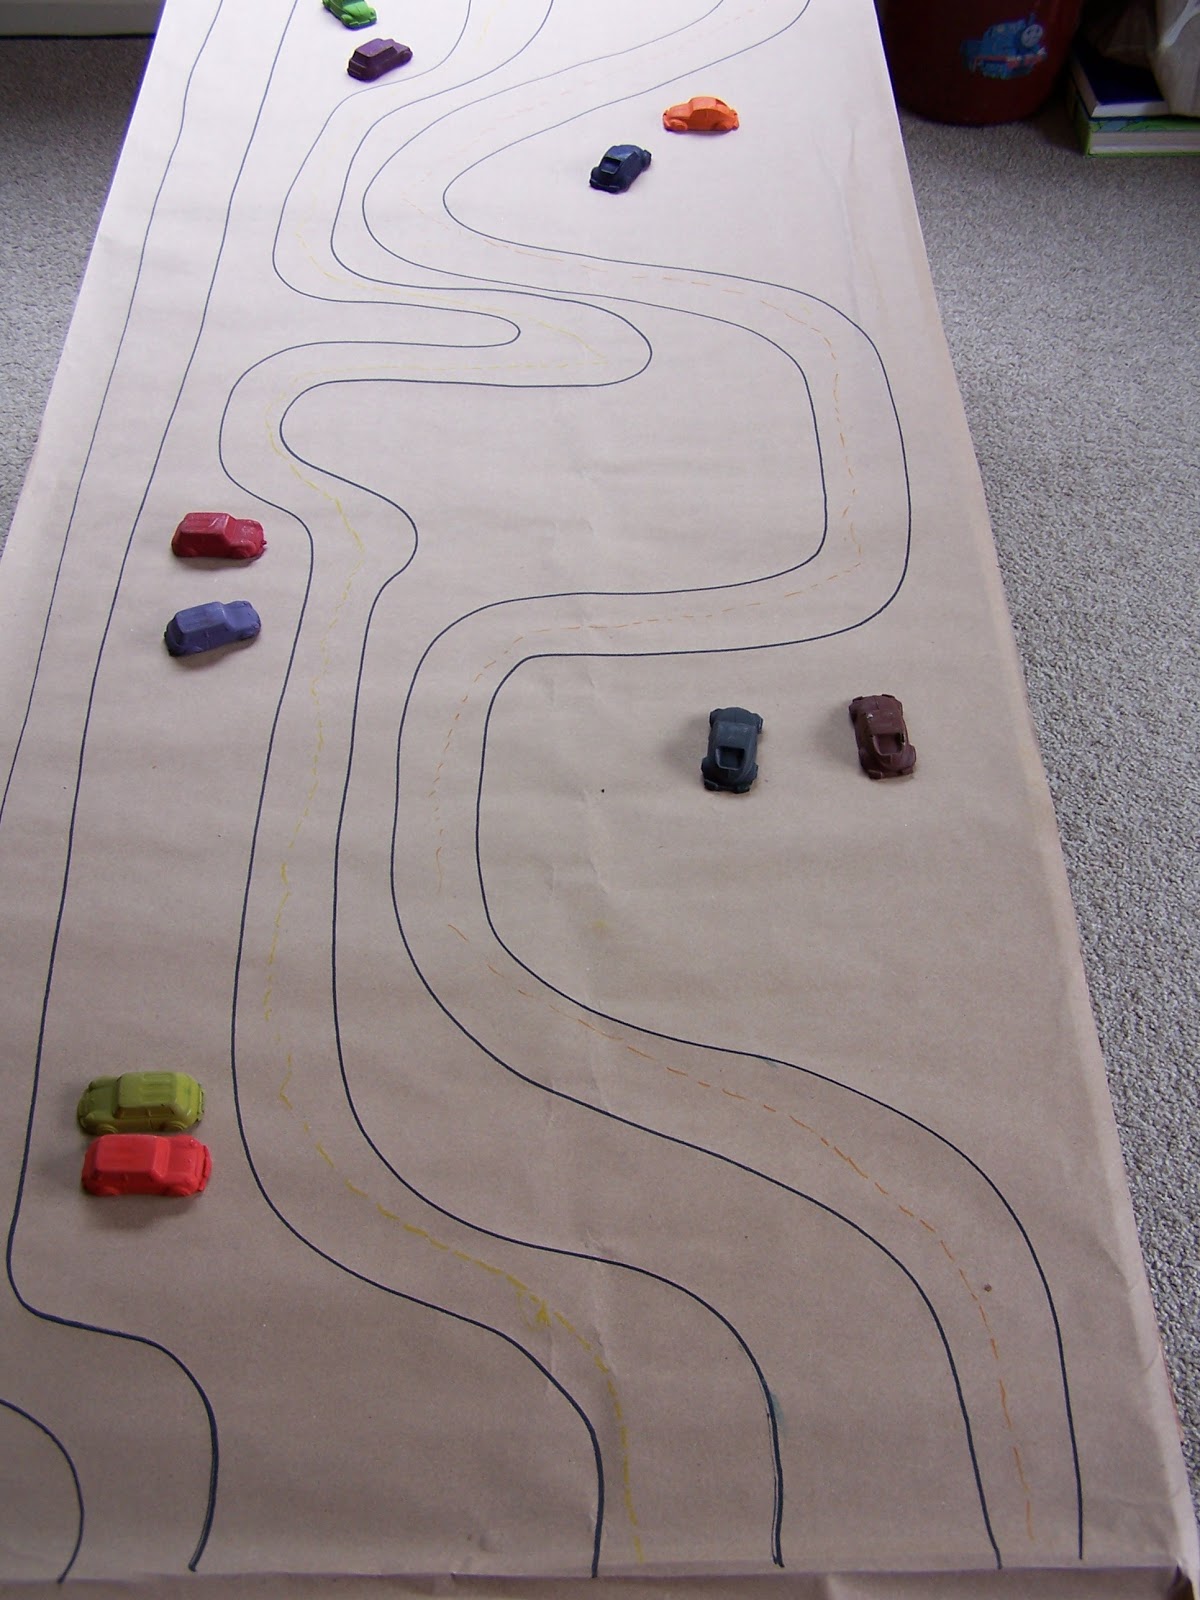
Once I had made the car crayons I thought they were just too cute and that we needed to do something with them during the party as well, so I came up with the idea of driving/drawing on paper roads with them. I covered the coffee table with paper and the little miss helped me to draw roads for the cars to drive along. The kids loved it. :)


No comments:
Post a Comment