
- 2 scraps of fabric cut into rectangles of approx 12 x 15 cm (you can use any durable, non stretch fabric scraps that are not too stiff - i.e. cotton, cotton-poly blend, cotton drill)
- ribbon - 3 to 6 strands each measuring approx 70 to 80 cm long
- thread to match
- approx 1/3 cup popcorn kernels*
- scissors
- pins
- lighter or matches
- sewing machine.

Instructions:
1. Place the fabric pieces right sides together and cut the corners on both pieces on one of the short ends so they're rounded.
2. Singe/melt all ends of the ribbons with your lighter or matches to stop them from fraying.
3. Pin the ribbons to the right side of one of the fabric pieces along the short straight edge with the ribbon ends running the length of the comet and over.

4. Stitch along the short edge to keep the ribbons in place.
5. Place both pieces of fabric right sides together and pin around the long and rounded edges and sew the fabric together on all three edges - make sure not to catch any of the ribbons in your stitching.

6. Cut small slits in the curved edge to make it turn out nicely. Make sure your cuts don't go as far as the seam!

7. Turn your comet right way around. Your ribbons should fall freely from the open end.
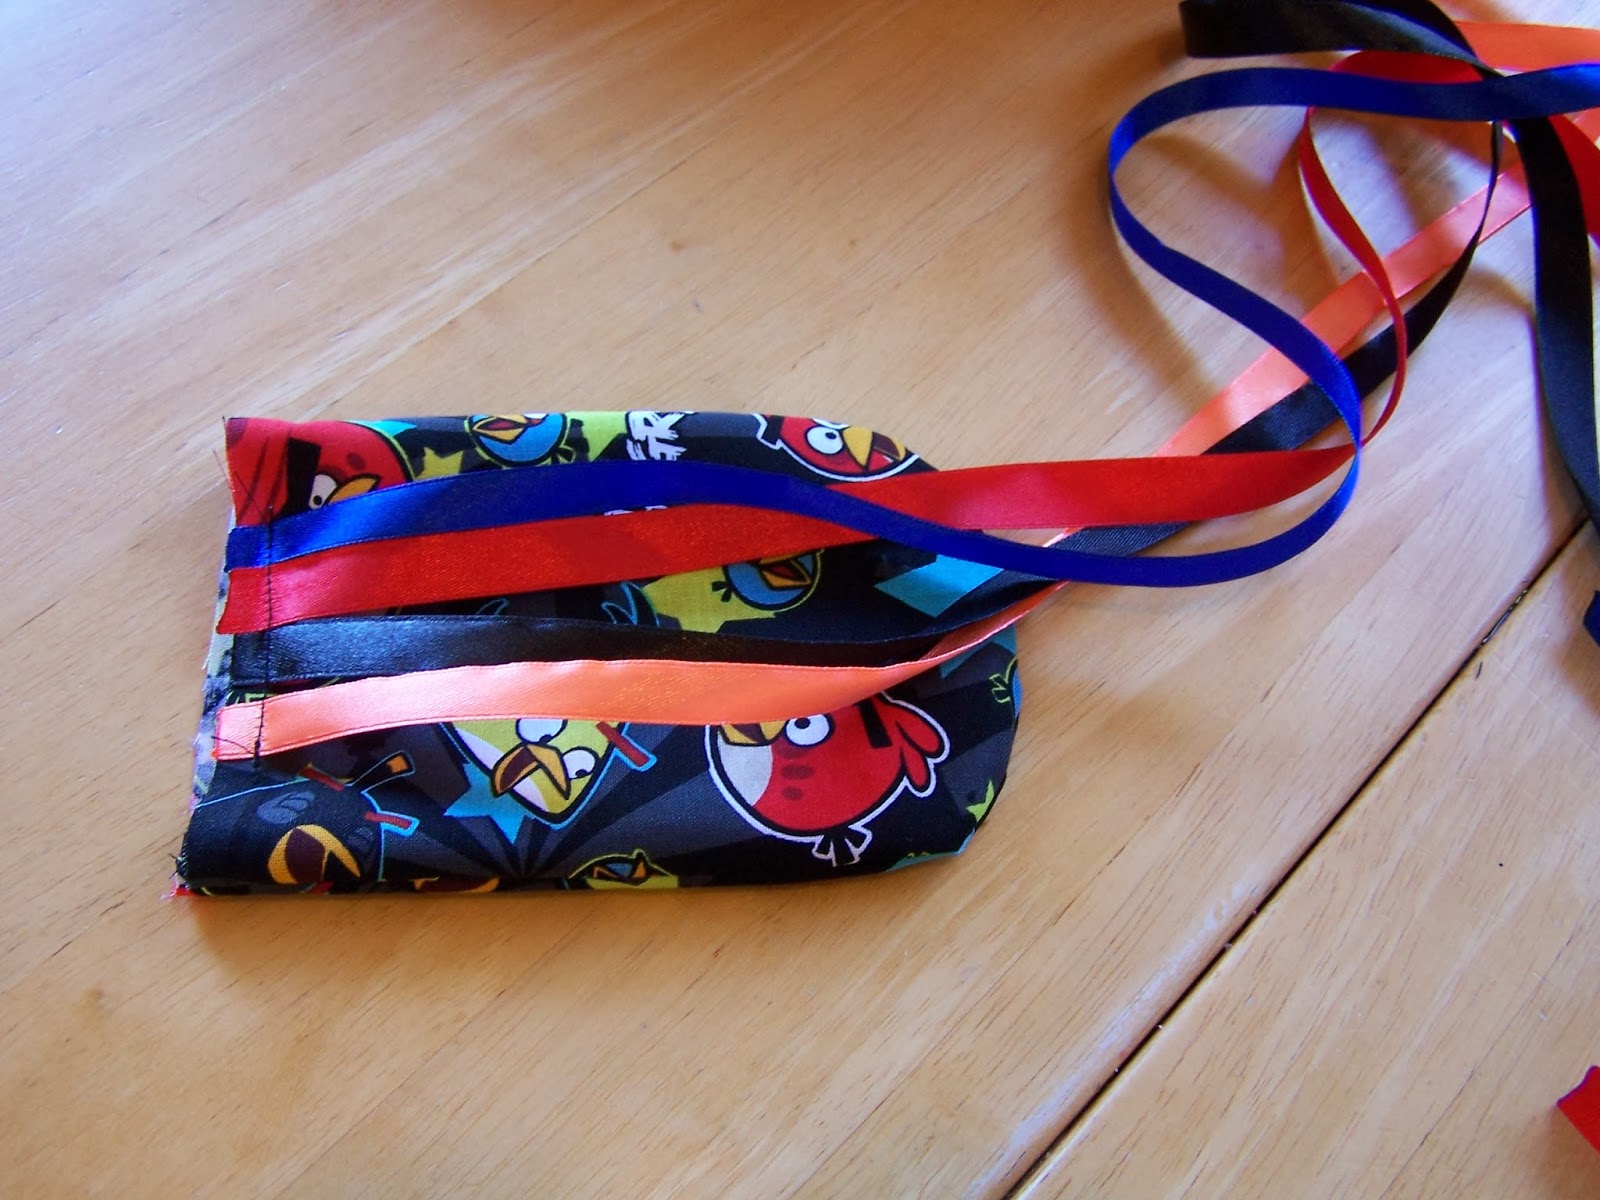
8. Fill the comet with popcorn kernels (or your chosen substitute).
9. Fold your raw edges into the comet with the ribbons hanging out and pin. Make sure the stitching holding your ribbons in place is in the fold.

10. Sew the comet closed and top stitch around all edges.
Your comet is now ready to be played with!!!!!


Note: Taking action shots of these is not the easiest thing to do (and I was too impatient to wait for the sun to move to a better angle)! But these photos should give you an indication of how the comets fly. ;)


Note: Taking action shots of these is not the easiest thing to do (and I was too impatient to wait for the sun to move to a better angle)! But these photos should give you an indication of how the comets fly. ;)
I love it. We had a similar thing as kids using a tennis ball in fabric. I will have to give it a go.
ReplyDeleteI've seen similar tennis ball ones too. My son's got a pretty good arm on him, and thankfully popcorn kernels are a lot more forgiving when they hit you in the head than tennis balls! :)
Delete